Jump-Start a Car Safely: Cable Order, Tips, Mistakes
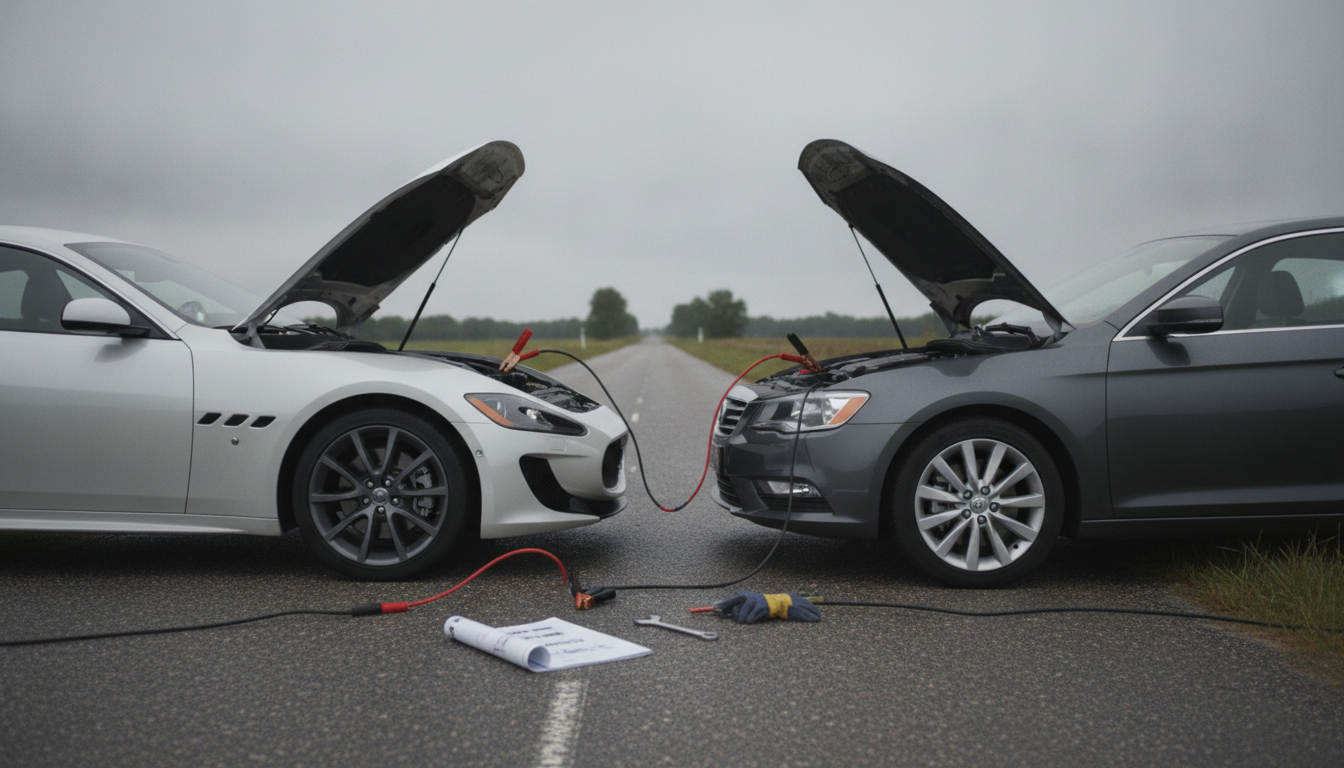
The Friendly Guide to Jump-Starting Your Car Safely (With Jumper Cables)
A dead battery can happen anywhere—outside the grocery store, in your driveway, or on a cold morning when you’re already late. The good news: a safe jump-start is usually quick and straightforward when the steps are followed in the right order. Below is a practical, safety-first walkthrough for checking the basics, connecting jumper cables correctly, starting both vehicles the right way, and avoiding the mistakes that can create sparks or damage electronics.
Before Anything Else: Confirm It’s Really the Battery
Not every no-start situation is a dead battery, and a little diagnosis can save time (and frustration).
- Look for classic signs of a weak battery: dashboard lights are dim or off, a rapid clicking sound, a slow crank, or no crank at all.
- Check simple issues first: make sure the gear selector is in Park/Neutral, confirm a push-button start vehicle recognizes the key fob (a weak fob battery can cause confusion), and inspect battery terminals for looseness or heavy corrosion.
- If the headlights are bright but the starter won’t crank, the problem may be the starter, relay, neutral safety switch, or an immobilizer issue—not the battery.
What You’ll Need and How to Set Up Safely
Jumper cables are simple tools, but the setup matters. Take a minute to position both vehicles and reduce risk before any clamps touch metal.
- Use jumper cables in good condition: no cracked insulation, no exposed wire, and clamps that bite cleanly.
- Use a donor vehicle with a charged battery (or a jump pack). Park so the cables can reach without stretching.
- Turn both vehicles off, set parking brakes, and shift to Park (automatic) or Neutral (manual).
- Turn off accessories: lights, heater fan, radio, and phone chargers to reduce load and help prevent voltage spikes.
| Check | What to do | Why it matters |
|---|---|---|
| Battery condition | Do not jump a battery that’s cracked, leaking, or swollen | Reduces risk of explosion and acid exposure |
| Ventilation | Open the hood and keep faces away from the battery area | Limits exposure if a spark occurs |
| Cable routing | Keep cables away from belts, fans, and pulleys | Prevents cable damage and injury |
| Vehicle contact | Avoid the vehicles touching each other | Reduces unintended grounding paths |
Jumper Cable Connection Order (Step-by-Step)
Correct order reduces the chance of sparks near battery gases and helps protect sensitive electronics. If your vehicle has dedicated under-hood jump points, follow the owner’s manual.
1) Identify positive and negative terminals
Positive is marked with a “+” (often a red cover). Negative is marked with a “–” (often black). If markings are dirty, wipe them with a rag and use a flashlight.
2) Connect the cables in this sequence
- Clamp red (positive) to the dead battery’s positive terminal.
- Clamp the other red (positive) to the donor battery’s positive terminal.
- Clamp black (negative) to the donor battery’s negative terminal.
- Clamp the other black (negative) to a clean, unpainted metal ground on the dead car (engine block or a sturdy chassis bolt), away from the battery.
Avoid connecting the final negative clamp directly to the dead battery’s negative terminal unless the vehicle manual specifically allows it. Grounding away from the battery helps reduce spark risk near hydrogen gas that may vent from the battery.
Starting the Cars the Safe Way
Rushing the start is a common way to overheat a starter or end up with clamps in the wrong place. A little patience usually pays off.
For a consistent method used by roadside professionals, the AAA guide is a solid reference: AAA — Jump-Starting Your Car.
Disconnecting the Cables (Reverse Order)
After the Jump: Keep It Running and Prevent Another No-Start
For longer-term maintenance tips, this overview is helpful: Car Care Council — Battery Care and Maintenance.
Common Mistakes That Cause Sparks or Damage
For general vehicle safety guidance and reminders about roadside best practices, consult the National Highway Traffic Safety Administration: NHTSA.
A Handy Reference Guide to Keep in the Glove Box
If you want a simple checklist-style walkthrough to keep on your phone or print for your glove box, see The Friendly Guide to Jump-Starting Your Car Safely: How to Jump Start a Car with Jumper Cables.
And for anyone shopping used vehicles (where battery and electrical issues sometimes show up unexpectedly), Used Car Lemon Law: Knowing Your Rights – A Comprehensive Guide for Consumers can help clarify common consumer protections.
FAQ
What if the car still won’t start after a jump?
Recheck that each clamp is on the correct terminal and that the metal-to-metal contact is solid (wiggle clamps slightly to bite through grime). Let the donor car run a few more minutes before trying again, and stop if you only get a single click or no crank with bright lights—those signs can point to a starter/relay issue or a failed battery that won’t accept charge.
Where is the safest place to connect the negative clamp on the dead car?
Use a clean, unpainted metal ground on the engine block or a sturdy chassis bolt away from the battery, which reduces the chance of a spark near battery gases. If your vehicle has designated jump points under the hood, use the locations specified by the owner’s manual.
How long should the car run after a jump to recharge the battery?
A practical target is 20–30 minutes of driving, since idling alone may not recharge the battery effectively on many vehicles. If it dies again soon after, get the battery and charging system tested to confirm whether the battery is failing or the alternator isn’t charging.












Leave a comment